A loose axe head is a common problem that can occur over time due to a variety of factors, such as wear and tear, moisture, and improper storage. Whatever the cause, a loose axe head is a problem that needs to be fixed to prevent injuries and other potential risks.
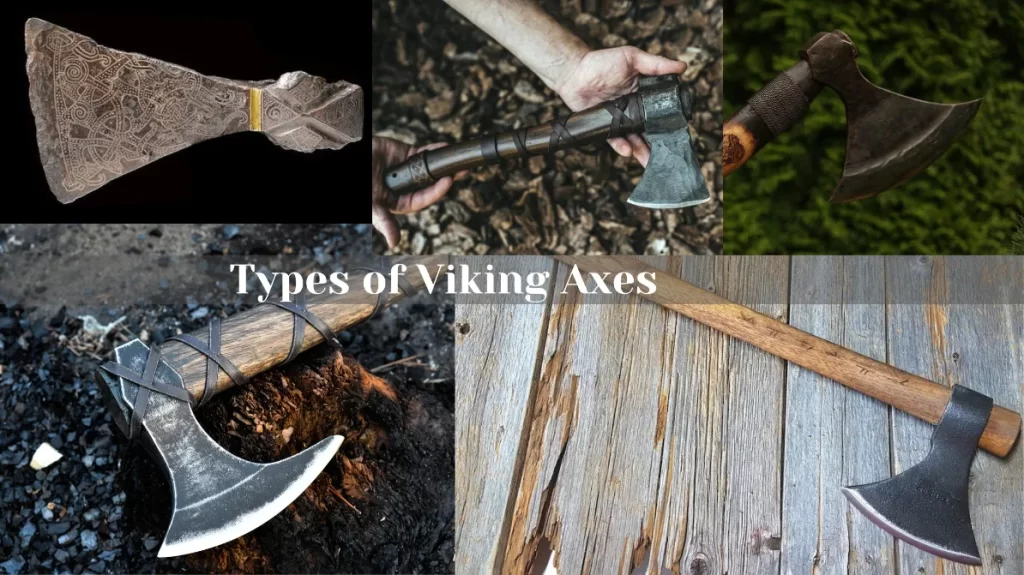
In this article, we’ll show you how to fix a loose axe head in a few simple steps, even if it is a Viking axe. We’ll also provide some tips on how to prevent your axe head from becoming loose in the first place.
Contents
Causes of a Loose Viking Axe Head
Before you can fix a loose axe head, you need to understand what causes it in the first place. There are several factors that can contribute to this problem, such as:
Wear and Tear
The most common cause of a loose axe head is regular wear and tear because of using it over time. With each swing, the force exerted can cause micro-movements in the axe head, stressing both the wooden handle and metal head. As a result, you create a force that can loosen the wedge that holds the axe head to the handle.
Over time, these repetitive stressors can gradually loosen the bond between the handle and head, resulting in a less secure fit. This can also cause the wood of the handle to shrink or expand, creating gaps between the axe head and the handle.
Moisture
Another cause of a loose axe head is exposure to moisture, which can affect both the wood and the metal parts of the axe. Wood, which most Viking axe handles are made of, is particularly susceptible to humidity and temperature changes. The absorbed moisture can cause the wood to swell and contract, leading to a loose fit in the axe head’s eye.
On the metal axe head’s part, moisture can cause rust, which not only weakens the metal but can also create additional space for movement, compounding the looseness.
Improper Storage
How you store your Viking axe can also affect its condition and durability. If you store your axe in a place that is too hot, cold, humid, or dry, you can damage the wood and the metal of the axe.
For example, if you store your axe near a fireplace or a heater, you can dry out the wood and make it brittle. On the other hand, if you store your axe in a damp basement or a shed, you can expose it to moisture and mold.
Poor Quality Materials
Finally, the quality of the materials used to make your Viking axe can also influence how well it holds up over time. If the wood of the handle is too soft, too hard, or has knots or cracks, it can break or split easily. If the metal of the axe head is too thin, too brittle, or has flaws or impurities, it can bend or break easily.
Also, if the wedge is too small, too large, or not properly fitted, it can fail to secure the axe head to the handle.
Step by Step Guide to Fix a Loose Viking Axe Head
Now that you know the causes of a loose Viking axe head, you are ready to fix it. Here are the steps you need to follow to remove, clean, and secure the axe head to the handle.
Step 1: Remove the Axe Head
The first step is to remove the old wedge from the axe head, which is the piece of wood or metal that keeps the axe head attached to the handle. To do this, you will need an axe head wrench or a hammer and chisel. An axe head wrench is a tool that can grip the wedge and pull it out. A hammer and chisel can be used to cut or pry the wedge out. You can find these tools at any hardware store or online.
To remove the wedge, follow these instructions:
- Place the axe on a sturdy surface, such as a workbench or a table.
- If you are using an axe head wrench, clamp it around the wedge and twist it until the wedge comes out. If you are using a hammer and chisel, place the chisel on the edge of the wedge and tap it with the hammer until the wedge comes out.
- If the wedge is stuck or rusted, you may need to apply some lubricant or heat to loosen it.
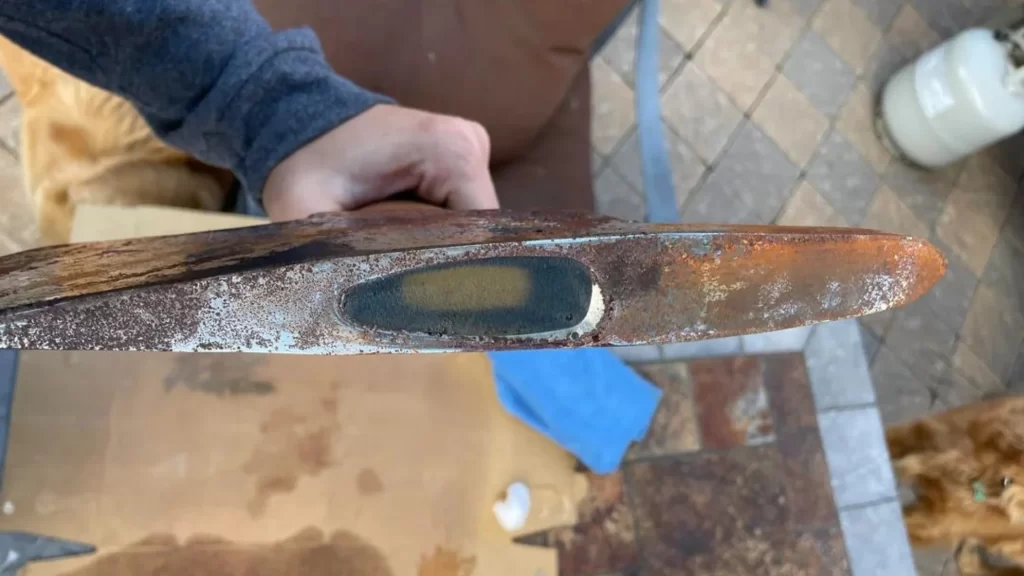
Step 2: Inspect the Axe Head and Handle
The next step is to inspect the axe head and the handle for any cracks or damage. If the axe head is cracked, it will need to be replaced. If the handle is cracked, it may be repaired or replaced. You can check the condition of the axe head and the handle by following these steps:
- Look for any visible cracks or splits on the axe head and the handle. If you see any, mark them with a marker or a tape.
- Check the fit of the axe head and the handle. The axe head should fit snugly and securely on the handle, without any gaps or wobbles. If the axe head is too loose or too tight, you will need to adjust it or replace it.
- Also, the axe should be well-balanced, meaning that the weight of the axe head and the handle are evenly distributed. You can check the balance of the axe by holding it horizontally by the handle and seeing if it tilts to one side or the other. If the axe is unbalanced, you will need to adjust it or replace it.
Step 3: Clean the Axe Head and Handle
If you find your axe handle or dirty, it’s time to clean them from any dirt or debris. This will help to prevent any corrosion or infection, and improve the appearance and performance of the axe.
To clean the axe head and the handle, you will need a wire brush and a damp cloth. You can also use some mild soap or vinegar to remove any stains or rust. To clean the axe head and the handle, follow these steps:
- Use the wire brush to scrub off any dirt or debris from the axe head and the handle. Be gentle and avoid scratching or damaging the wood or the metal.
- Wipe the axe head and the handle with the damp cloth to remove any dust or residue. You can also use some mild soap or vinegar to remove any stains or rust. Rinse the cloth and repeat until the axe head and the handle are clean and dry.
- If the axe head or the handle has any deep scratches or dents, you can use some sandpaper or a file to smooth them out. Be careful not to remove too much material or alter the shape of the axe head or the handle.
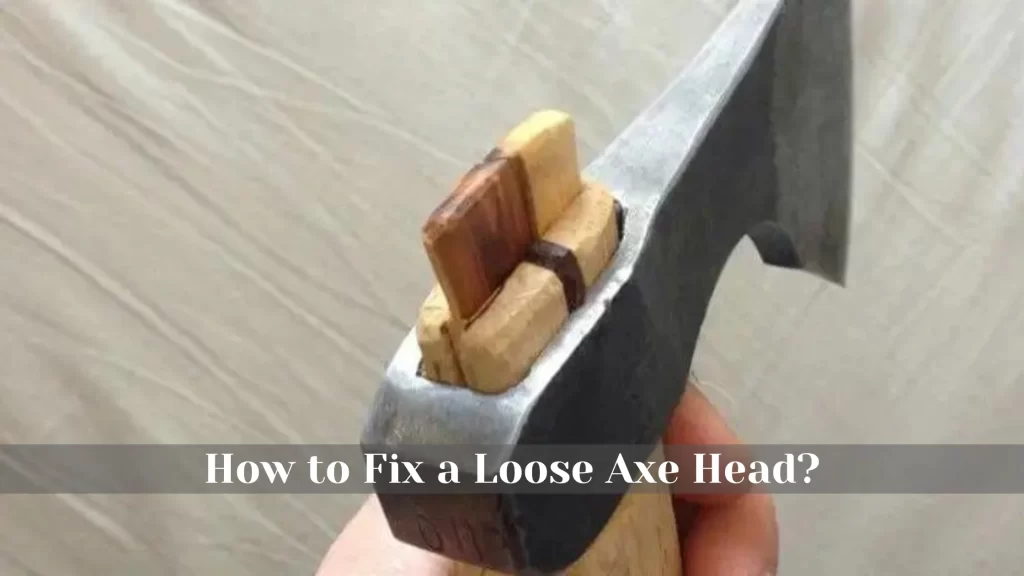
Step 4: Make a New Wedge (Optional)
In most cases, we find the wedge damaged after removing the head from haft. A wedge is a piece of wood or metal that fits between the axe head and the handle, and helps to secure them together.
A wedge is essential to prevent the axe head from slipping or falling off the handle. To make a new wedge, you will need a piece of hard wood, such as oak or maple, and a saw, a knife, or a chisel. You can also use a piece of metal, such as steel or iron, and a drill, a file, or a grinder. To make a new wedge, follow these steps:
- Measure the size of the hole in the axe head, where the wedge will go. The wedge should be slightly larger than the hole, so that it can fit snugly and securely.
- Cut a piece of wood or metal that matches the size and shape of the hole. You can use a saw, a knife, or a chisel to cut the wood, or a drill, a file, or a grinder to cut the metal. Make sure the piece is straight and smooth, without any cracks or splinters.
- Carve or file the piece to fit the hole. You can use a knife or a chisel to carve the wood, or a file or a grinder to file the metal. The piece should have a tapered shape, meaning that it is wider at the top and narrower at the bottom. This will help to lock the axe head and the handle together.
- Test the fit of the piece in the hole. The piece should fit snugly and securely, without any gaps or wobbles. If the piece is too large or too small, you will need to adjust it or make a new one.
Since the axe head is loose already, why don’t you clean and sharpen the axe head before attaching the haft?
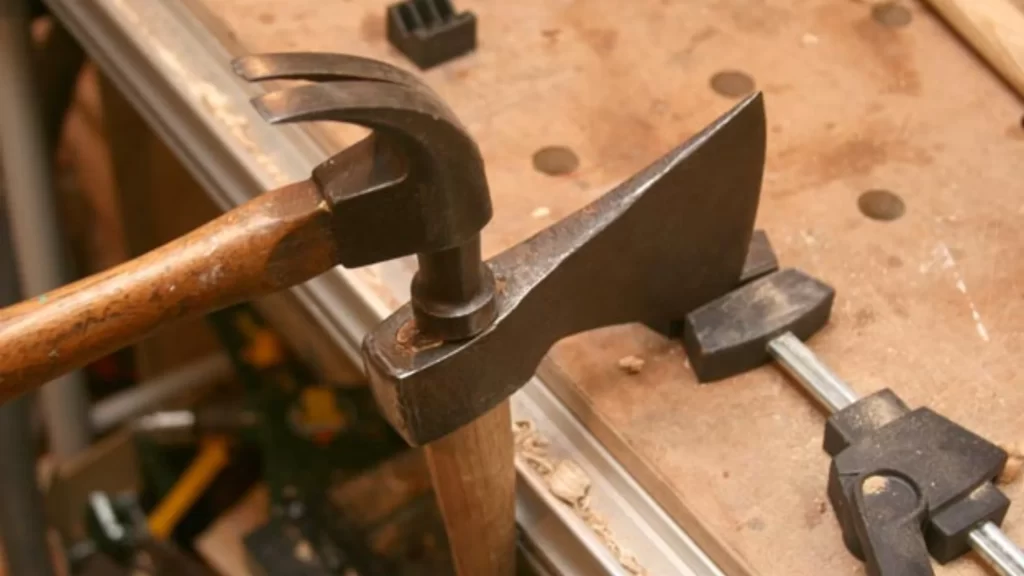
Step 5: Secure the Axe Head to the Handle
Once the axe head, haft and the wedge is ready to reassemble, it’s time to secure the axe head to the handle using the wedge. To do this, you will need some linseed oil and a hammer.
Linseed oil is a natural product that can help to preserve and protect the wood of the handle and the wedge. It can also help to fill any gaps or cracks between the axe head and the handle. To secure the axe head to the handle, follow these steps:
- Apply a thin coat of linseed oil to the inside of the axe head and the outside of the wedge. This will help to lubricate and seal the parts.
- Insert the wedge into the axe head and align it with the handle. The wider end of the wedge should face the top of the axe head, and the narrower end should face the bottom of the handle.
- Use a hammer to drive the wedge into place. Tap the wedge gently and evenly, until it is flush with the top of the axe head. Be careful not to overtighten the wedge, as this can damage the axe head or the handle.
- Wipe off any excess linseed oil from the axe head and the handle.
Step 6: Use a Clamp to Tighten the Axe Head (Optional)
If you still find the axe head loose a bit after inserting the wedge, use a clamp to tighten the axe head. A clamp is a tool that can apply pressure and hold the parts together. This will help to ensure that the axe head and the handle are firmly attached, and prevent any movement or vibration. To use a clamp to tighten the axe head, follow these steps:
- Place the clamp around the axe head and the handle, and tighten it until the axe head is secure. Make sure the clamp is not too tight, as this can damage the axe head or the handle.
- Allow the clamp to remain in place for at least 24 hours before using the axe. This will give enough time for the linseed oil to dry and the wedge to settle.
Step 7: Use Epoxy Resin to Make the Wedge More Durable (Better)
The final step is to use epoxy resin to make the wedge more durable, if you want to add some extra strength and protection to the wedge.
Epoxy resin is a synthetic product that can bond and harden the materials. It can also help to prevent the wedge from splitting or cracking, and resist moisture and corrosion. To use epoxy resin to make the wedge more durable, follow these steps:
- Apply a thin coat of epoxy resin to the wedge, covering the entire surface. You can use a brush or a syringe to apply the epoxy resin. Make sure the epoxy resin is compatible with the material of the wedge, whether it is wood or metal.
- Allow the epoxy resin to cure and harden for at least 24 hours before using the axe. This will give enough time for the epoxy resin to bond and solidify the wedge.
Congratulations, you have successfully fixed your loose Viking axe head! You can now enjoy using your Viking axe for whatever purpose you desire, whether it is chopping, splitting, carving, or fighting. Just remember to take good care of your Viking axe and inspect it regularly for any signs of damage or wear.
Tips to Prevent the Axe Head from Becoming Loose
Here are some tips on how to prevent your axe head from becoming loose in the first place:
Store Your Axe Properly
You should store your axe in a cool, dry, and well-ventilated place, away from direct sunlight, heat, or moisture. This will help to prevent the wood and the metal from expanding, contracting, or corroding, which can cause the axe head to loosen.
Also, avoid storing your axe near any chemicals, acids, or salts, which can damage the materials. We recommend a leather sheath to cover the axe head and protect it from dust and dirt.
Use Your Axe Correctly
Always use your axe for the intended purpose, and avoid striking any hard or abrasive surfaces, such as rocks, metal, or concrete. This will help to prevent the axe head from bending, breaking, or chipping, which can cause the axe head to loosen.
Do not use your axe as a lever, a pry bar, or a hammer, which can put too much stress on the handle and the wedge. You should also use the right amount of force and angle when using your axe, and avoid any twisting or jerking motions, which can cause the axe head to wobble or slip.
Sharpen Your Axe Regularly
Remember to sharpen your axe regularly, using a whetstone, a file, or a grinder. This will help to maintain the edge and the shape of the axe head, and improve the performance and efficiency of your axe.
A sharp axe will require less force and effort to cut through the material, which will reduce the impact and the vibration on the handle and the wedge. Always apply some oil or wax to coat the axe head after sharpening, to prevent rust and corrosion.
Replace or Repair Any Damaged Parts
Inspect your axe regularly for any signs of damage or wear, such as cracks, splits, dents, or rust. If you notice any, you should replace or repair them as soon as possible, before they worsen or cause the axe head to loosen.
Note: You can also use some glue or nails to fix any minor cracks or splits on the handle or the wedge, but this is only a temporary solution.
Conclusion
Now you know how to fix loose axe head using simple tools and materials. Be sure to use a hardwood wedge and to apply a thin coat of linseed oil to the wedge before driving it into place. After inserting the wedge, use a clamp to tighten the axe head and ensure that it is securely seated in place. Follow these steps and enjoy the benefits of having a tight and stable axe head, such as improved accuracy, efficiency, and safety.
However, fixing a loose Viking axe head is not enough. You also need to prevent it from happening again in the future. To prevent a loose axe head from happening again, be sure to maintain your axe properly, store it properly, and use it properly. Regularly inspect the axe for signs of wear and tear, and repair or replace any damaged parts.
Frequently Asked Questions
How do you tighten the head of an axe?
There are a few ways to tighten the head of an axe, however, the best and most popular way is to use a wedge. To tighten the head of an axe, first remove the old wedge from the axe head. Then, carve a new wedge from a piece of hardwood, such as oak or maple. Carve the wedge so that it fits snugly between the axe head and the handle.
Once the wedge is carved, insert it into the axe head and drive it into place with a hammer. Be careful not to overtighten the wedge, as this can damage the axe head or the handle.
How do you glue an axe head?
To glue an axe head, you will need to use a strong adhesive, such as epoxy resin or two-part epoxy glue. First, clean the axe head and the handle. Then, apply a thin coat of epoxy resin to the inside of the axe head and the outside of the handle. Insert the axe head into the handle and hold it in place for several minutes, or until the adhesive has set.
How do you seal an axe head?
Sealing an axe head is a good way to protect the metal from rust and corrosion. You can use a variety of products to seal an axe head, such as linseed oil, tung oil, or beeswax. To apply the sealant, simply clean the axe head and apply a thin coat of sealant to the entire surface of the axe head. Allow the sealant to dry completely before using the axe.
How do you reshape an axe?
To reshape an axe, you need to remove the axe head from the handle, mark the desired shape and the edge on the axe head, and use a file, a grinder, or a forge to cut, grind, or hammer the metal to the desired shape and the edge. You should be careful not to remove too much material or alter the shape too drastically, as this can affect the strength and the durability of the axe head. Y